

Chrome extensions are awesome.
And Twitter is awesome.
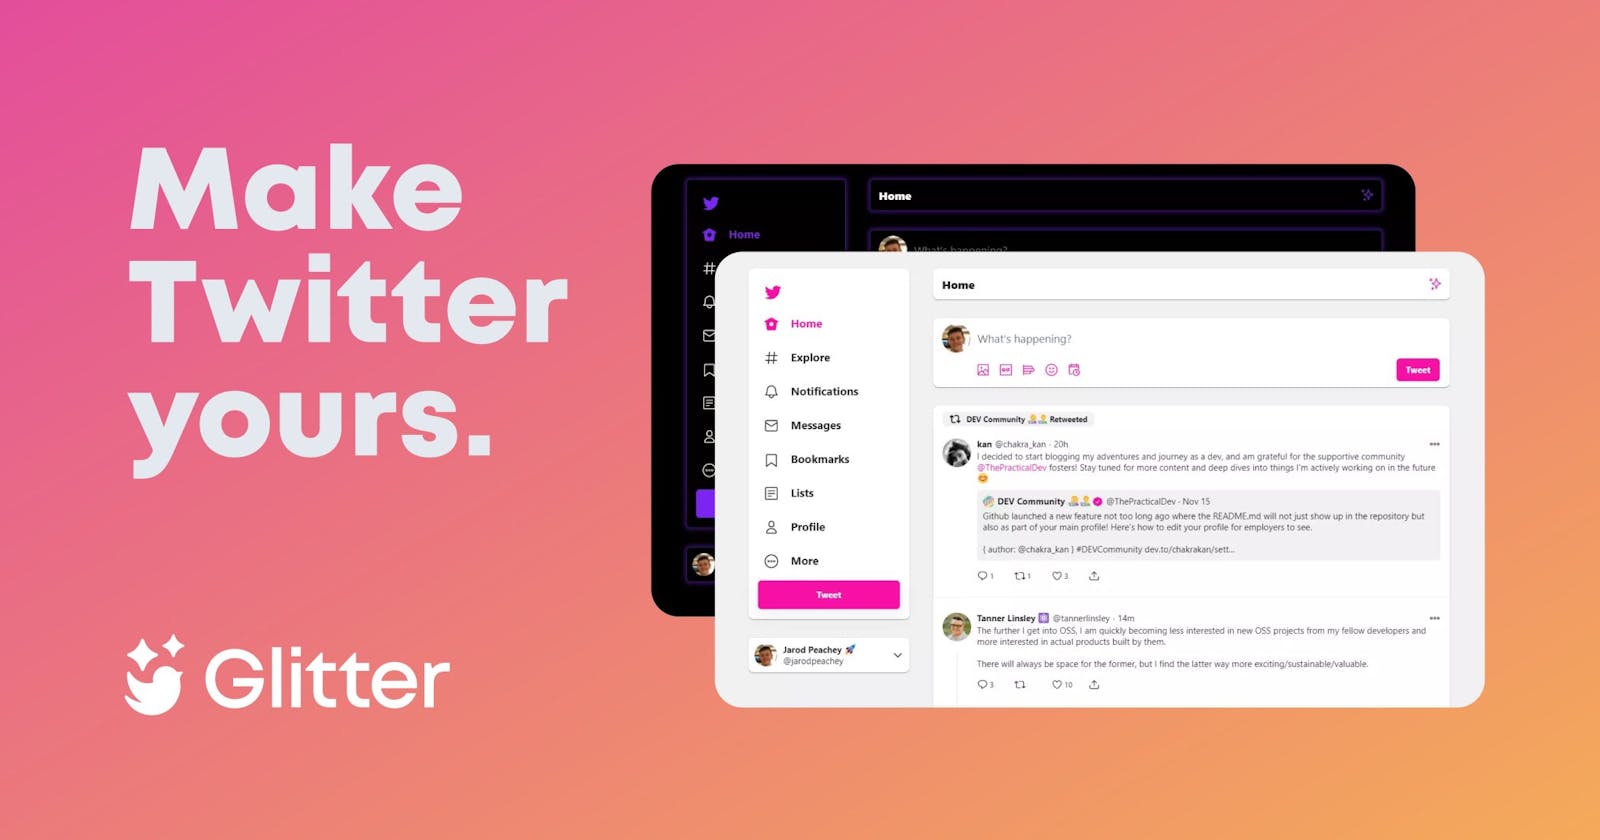
But I didn't really like the Twitter UI. I always found it a little cluttered, and hard to read.
Since I had always wanted to build a Chrome extension, I decided to jump right in and build a Twitter theme extension!
Let's get into it.
(Oh, you can get the extension at https://get-glitter.netlify.app)
Functionality
The main thing I wanted it to do was customize the theme of Twitter.
To avoid complexity starting out, I simply used the override.css file to add some custom styles to things like the navbar, cards and more.
It was a bit tough, because Twitter uses dynamically generated classnames, so I had to use nested CSS selectors.
For example, here's a pretty large single element selector:
[aria-labelledby='modal-header']
> div:first-child
> div:first-child
> div:nth-child(2)
> div:first-child
> div:first-child
> div:first-child
> div:first-child
> div:nth-child(3)
[role='button']:hover {
    cursor: pointer  !important;
    background-color: var(--primarycolor) !important;
    filter: brightness(1.2) !important;
    color: var(--buttontextcolor) !important;
}
This was the longest part, because I kept accidently overriding styles I didn't want to.
Anyway, I came up with a few themes based on CSS variables. The basic theme looks like this:
{
    name:  'theme-light',
    title:  'Default',
    category:  'Light',
    primarycolor:  '#1DA1F2',
    backgroundcolor:  '#f1f1f1',
    hovercolor:  '#f7f7f7',
    cardbackground:  '#ffffff',
    accentcolor:  '#f1f1f1',
    bordercolor:  '#bbbbbb',
    textcolor:  '#222222',
    cardborderradius:  '8px',
    cardbordercolor:  '#000000',
    cardborderwidth:  '0',
    cardshadow:
'rgba(0, 0, 0, 0.2) 0px 2px 1px -1px, rgba(0, 0, 0, 0.14) 0px 1px 1px 0px, rgba(0, 0, 0, 0.12) 0px 1px 3px 0px',
    buttonborderradius:  '6px',
    buttontextcolor:  '#ffffff',
    inputtextcolor:  '#111111',
    inputbackground:  '#ffffff',
}
I included the obvious colors, backgrounds, etc; but I also included a category and a theme name. This was to make sure I could seperate themes by category later on.
Storing themes
The most important part of this was being able to store the themes.
To do this, I created a loadThemes.js file, which was a simple script to loop through each theme in the themes array and set a cookie for Twitter with that theme.
themes.forEach((theme) => {
  chrome.cookies.get(
  { url:  'https://twitter.com', name:  theme.name },
  function (cookie) {
    if (
      cookie &&
      cookie.value &&
      cookie.value !== '{}' &&
      cookie.value !== '' &&
      JSON.parse(cookie.value) !== {}
    ) {
    } else {
      chrome.cookies.set(
        {
          url:  'https://twitter.com',
          name:  theme.name,
          value:  JSON.stringify(theme),
          expirationDate:  new  Date().getTime() + 10 * 365 * 24 * 60 * 60,
        },
          function () {},
        );
        window.location.reload();
      }
    },
  );
});
Now, I had a few cookies with the themes in them, which I could access later on.
Switching themes
After I built the UI for switching themes (a simple grid with the themes laid out) I had to actually implement the theme switching.
To do this, I added a click event listener to each theme in the UI.
I then accessed the id attribute on that element, which would be the same as the theme cookie name.
I could use that to access the cookie, and call a function to update the CSS custom properties on Twitter.
themePreset.addEventListener("click", (e) => {
  changeTheme(e.target.id);
})
The changeTheme function is pretty large, but here's the basic idea:
- Accept theme name parameter
- Get cookie with the name of the
themeNameparameter - Parse the cookie to get the
themeobject - Use
chrome.tabs.getSelectedto pass some code for Twitter to run
Here's the code I passed to Twitter to run (abridged):
document.documentElement.style.setProperty(
    '--primarycolor',
    '${newTheme.primarycolor}',
);
document.documentElement.style.setProperty(
    '--backgroundcolor',
    '${newTheme.backgroundcolor}',
);
I then used chrome.tabs.executeScript(tab.id, { code: code }); to execute the script, and now the CSS custom properties were changed.
Twitter looks different now! 🎉
Adding custom themes
I got a little carried away at this point and decided to add custom themes and edit ability.
In hindsight, that was both dumb and cool.
Anyway, I did that by simply adding more cookies to Twitter, with each cookie storing the theme data.
Every time the extension loaded, I accessed the theme cookies and created new elements for them, so you could switch between the themes you created.
Use the extension
Thanks for reading this far! You can find the extension at https://get-glitter.netlify.app.
Let me know what you think!
p.s If you want, you can follow me on Twitter for more cool stuff like this!